Develop and Deploy with Docker
Posted on Fri 30 October 2020 in Software • 4 min read
This post is intended to work through setting up a workflow with Docker. In particular, we will be setting up a production workflow for a web app. For this web app, we will need a workflow which supports:
- Develop
- Test
- Deploy
We also want to be able to come back at a later date, further develop a feature and have the remaining steps be automated. At the centre of the workflow will be a repository (hosted in Github).
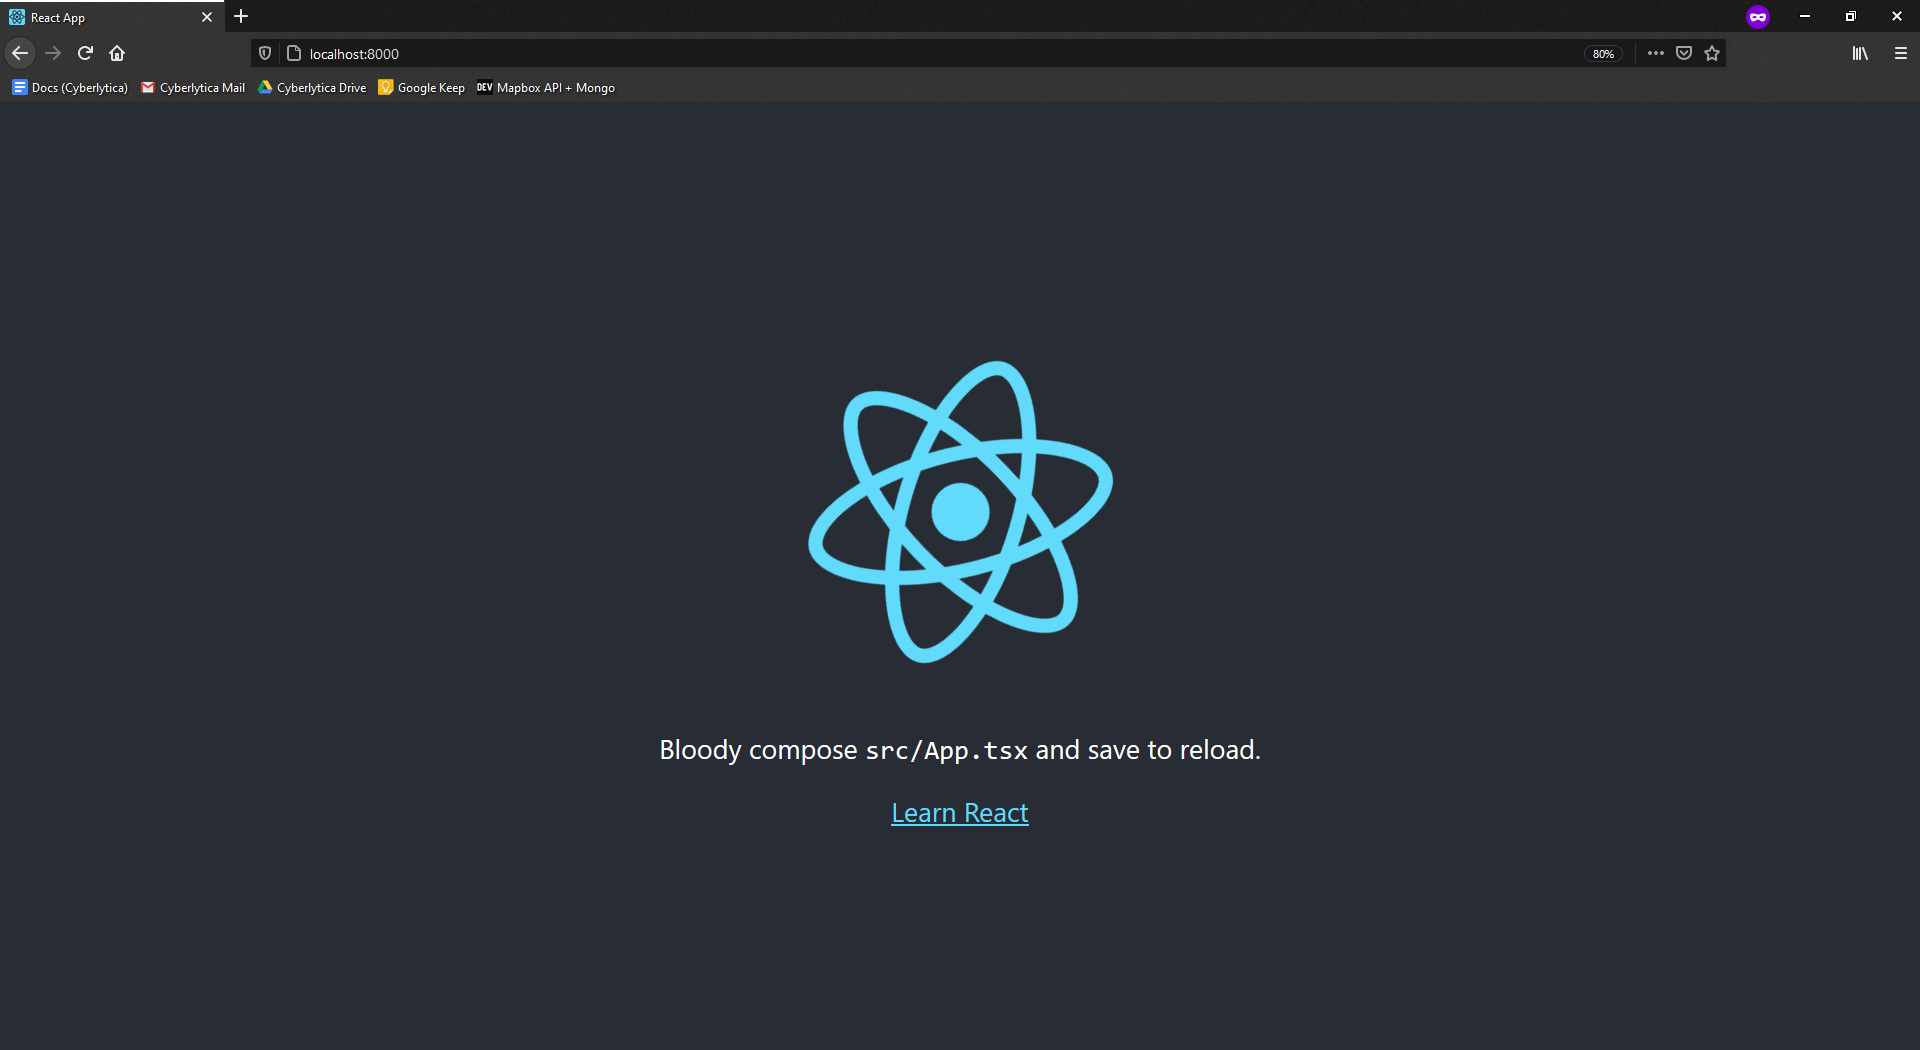
Here's a screenshot of the final application:
This post will not be going through the details of how to utilise git/github. This workflow is 100% achievable without Docker, although Docker will make things much easier.
This post is apart of a series on Docker/Kubernetes, find the other posts at:
- Intro to Docker
- Develop and Develop Multi Container Applications
- Intro to Kubernetes
- Developing with Kubernetes
- Deploying with Kubernetes
- Deploy a Node Web App to AWS Elastic Beanstalk with Docker
The Web Application
For the web app we will use React, which is a javascript framework for managing the front end of applications. To generate the web app boilerplate for us, we will use create-react-app. For running this, ensure that Node.js is installed on the local PC. Finally run the command below, to initialise the front end component of React of our web app.
1 | |
Typescript is optional, but highly recommended.
Dockerfile
For this workflow we're going to set up two Dockerfiles, one for developing and one for production. Let's start with the developers Dockerfile, which we will aptly name Dockerfile.dev, we must ensure to add the -f flag along with the filename when building the Docker image with docker build -f Dockerfile.dev ..
The contents of our Dockerfile.dev will contain:
1 2 3 4 5 6 7 8 9 10 11 12 13 14 | |
To circumvent the issue in that Docker typically takes snapshots of the code and we want our app to update on save, we use mount to create a 'reference' to our folder on the local PC. We do this by running the command:
1 | |
If using Windows, replace the ${pwd} with the full path to the folder, ensuring to swap all backslashes to forwards slashes and changing C: to /C/. Here is an example:
1 | |
Docker Compose
Rather than using the rather large command above, let's use Docker Compose.
1 2 3 4 5 6 7 8 9 10 11 12 | |
To break this yaml file down:
- We create a
react-appservice - It'll always try to restart if it crashes for any reason
- We want to build the container from the current directory (where the react app lives) and from the Dockerfile.dev
- We map port 8000 on the local PC to port 3000 of the container
- We mount the current directory to the app directory in the container for updating in sync
Again, if using Windows, we need to add some more options to our service:
1 2 3 4 | |
Running Tests
There are two methodologies to run tests on running containers:
- Attach with `docker exec -it [image_id]
- Run in docker-compose
Option 1 can be cumbersome as we will need to do this each time when running a container.
Option 2 is achieved by creating a new service in our docker-compose.yml file:
1 2 3 4 5 6 7 8 9 10 11 12 | |
Notice it is similar to the service created for react-app only with the new command npm run test. Now if any new tests are included in the test suite, the tests should be re-ran within the container.
This will mix the output logging from the two services, we may be difficult to read. If using VS Code, the terminal seems to handle this nicely.
Nginx
For the production version of our application, we won't have access to the developer server, so to fill this gap, we will use nginx. For this we will need a second Dockerfile, specific for running our application in production.
In our new production Dockerfile, we will make use of a multi-stage docker build sequence. In essence, the steps will be:
Build step:
- Pull base image
- Copy dependencies
- Install dependencies
- Build application
Run step:
- Use nginx image
- Copy result of built application
- Start nginx
Multi-stage Dockerfile
To implement our multi-stage Dockerfile as above we do this we the following yaml:
1 2 3 4 5 6 7 8 9 10 11 | |
Note that there is no explicit end to the first stage, this is handled for us whenever a new FROM command is used. Further, the WORKDIR command isn't shared across stages, so be sure to prepend any paths if you want to use data created by different stages.
If attempting to run our new image, the default port for nginx is 80 and needs to be mapped to the local PC.