Intro to Games in Python with Pyglet
Posted on Fri 04 October 2019 in Python • 3 min read
Recently, I've been researching ways that I could run a 2D simulation (and hopefully 3D) with many moving pieces and there was a desire to make it interactive as well. I stumbled through many visualisation frameworks such as:
Eventually, through the motivation of another side project (looking into training neural networks to learn how to play games) and inspired by this video from Code Bullet https://www.youtube.com/watch?v=r428O_CMcpI; I decided on attempting to use Pyglet to do these simulations.
While the aforementioned simulations won't be covered in this post, this post aims to demonstrate how I adapted the in-depth tutorial on the Pyglet website (which goes through how to recreate asteroids in Pyglet) to generate vector based objects which can crash into each other.
First off as always, start by setting up a virtual environment with your preferred method (Anaconda or follow my workflow), since Pyglet has no external dependencies, all you need to do is install the pyglet package.
I won't go through all the code in the example, and how it works, I will only go through what I changed in the case to get where I wanted to go.
To begin, and make things a bit easier, I downloaded the pyglet-master repository from GitHub (https://github.com/pyglet/pyglet) so I didn't have to create and copy the file contents one by one.
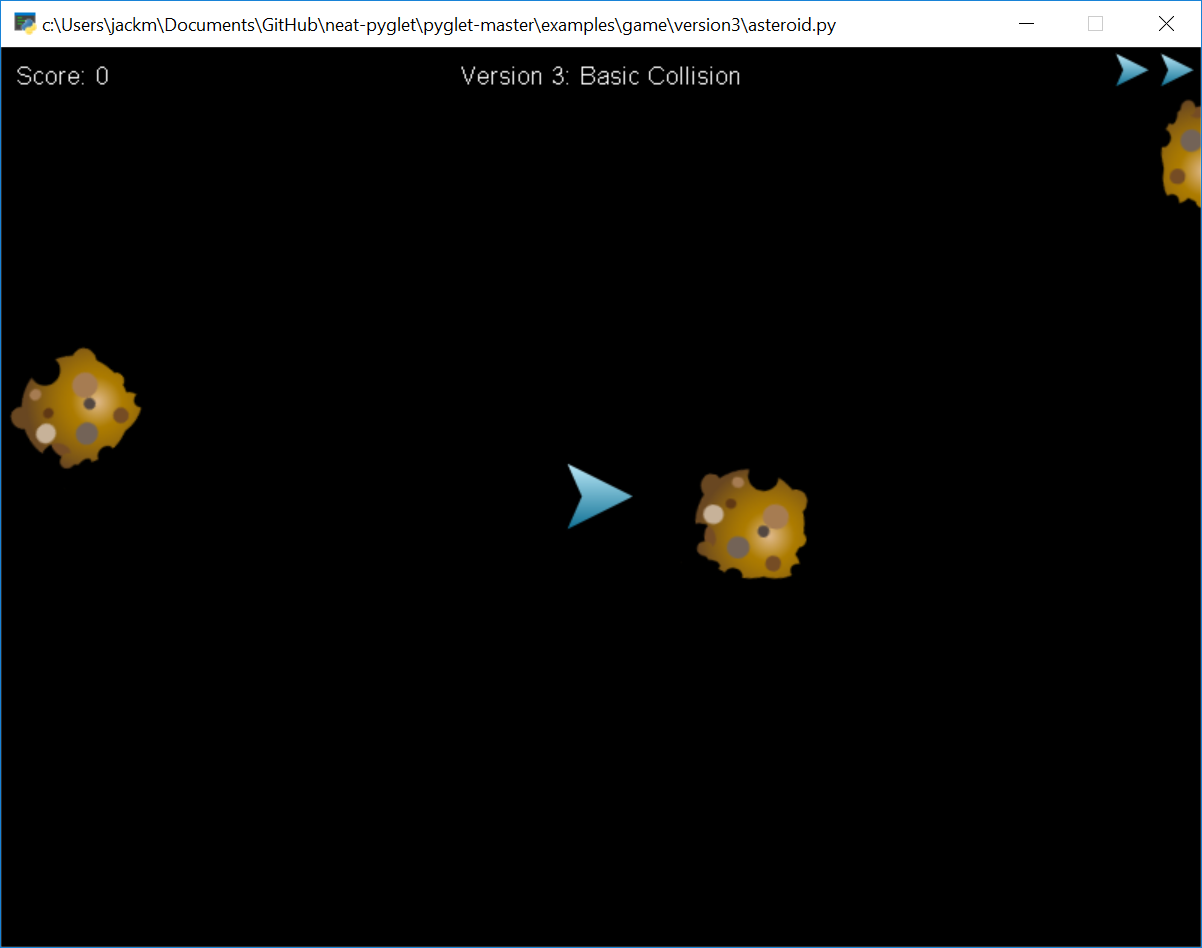
After going through the different versions with the examples > game folder, I decided all I required was the simple functionality of collision and any further into developing the game wasn't needed for this stage, so I copied out the version 3 folder.
If we run 'asteroid.py' from within the version 3 folder, we are met with this screen
Now since all I am trying to do is generate multiple objects (which will be shown with the player symbol to indicate direction), I can comment out the lines which give the lives, score, title and interactive player.
1 2 3 4 5 6 7 8 9 10 11 12 13 14 15 16 17 18 19 20 21 22 | |
Now that we've done that, we need to modify the asteroids generator function to use the player sprite.
In load.py, you can change simply the img argument to the player image sprite reference like so:
1 | |
Now if we run this, the animation will look a little off, because the objects won't be traveling the direction in the direction that the sprite is pointing. This is due to the existing velocity calculation being a random number for both the X and Y component.
To make the player sprites move in the direction they are rotated in, and maintain the existing codebase, we will need to convert from polar notation to cartesian.
To do this, we add an extra 2 functions into 'util.py' which will do this for us:
1 2 3 4 5 6 7 8 9 | |
Note the use of radians in pol2cart, this is due to the affect of quadrants and trigonometric functions. I won't go into detail, but it won't behave like you expect it to.
Now to get our player sprites moving in the direction they are rotated, update the code which generates the 'asteroids' to utilise our new function:
1 2 3 | |
Now when we go and run our main file again, we will met with a screen like this:
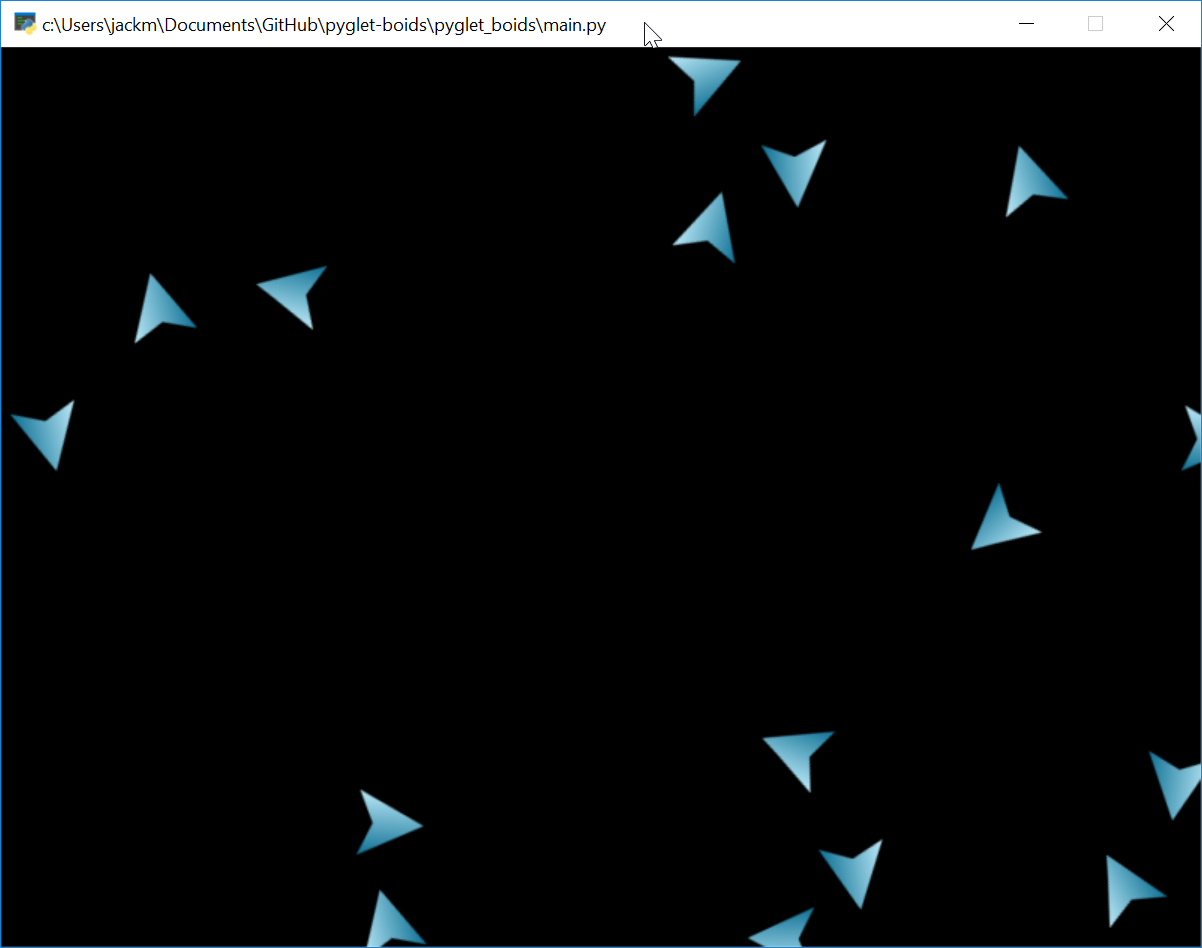
Where the player sprites will float around in the direction they are pointing, until they crash into another sprite, causing both of them to disappear.
This is a quick intro to Pyglet, I am hoping to expand on this simulation and am positive I will be doing further write ups with it in the future.