Pelican and Javascript - Bouncing Balls in Canvas
Posted on Thu 02 April 2020 in Javascript • 3 min read
Today let's look into building a visualisation of some bouncing balls with Javascript. The inspiration for building this comes from Harry Stevens over at the Washington Post for his amazing piece of data journalism around the coronavirus.
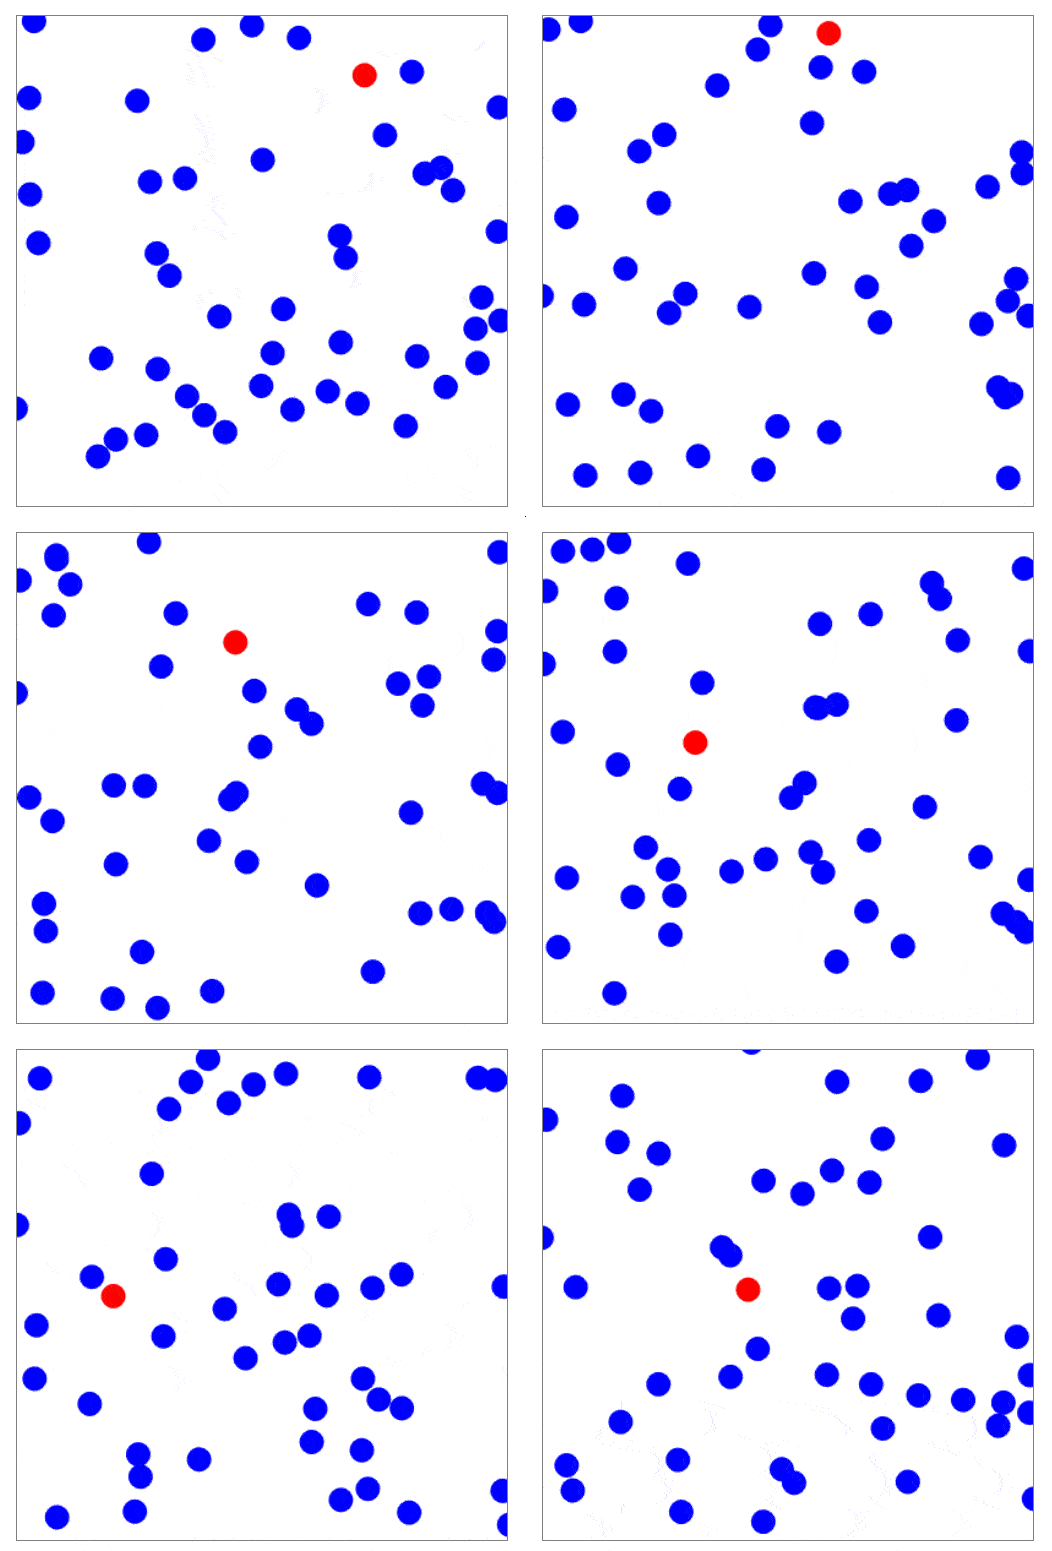
Here is a gif of the current version of my bouncing balls using the Canvas API:

As soon as I read that article personally, I thought of a few ways to extend the analysis, and such this post was born. A few of the ideas that I've had are:
- Adding a 'chance' to transmit the infection (eg, 50% of all collisions transmit). This could be a symbolic way of seeing how much of an impact wearing PPE makes on virus outbreaks.
- Having hot spots in which the circles will be attracted towards.
If you've got any ideas of some new parameters that might be interesting to see, leave a comment!
Before I could build a similar visualisation, I had to figure out how I could integrate Javascript into this blog. Luckily, the amazing community behind Pelican has built a plethora of plugins to choose from.
Pelican Javascript ended up being the plugin of choice. By using this in combination with Pelican Autostatic, this allowed for the article-centric resources and also ensures that a list of source javascript files was included at the end of each post.
Without further ado, here is my current implementation of bouncing balls. There is a few bugs in that sometimes they fly out of the box and some get stuck together forever, if anyone has any ideas on how I could fix it, please let me know in the comments!
This visualisation is completed using the Canvas API. To interface with the canvas element in HTML, we use the DOM. Another option of doing this is using d3js, for which my understanding is that since Canvas is inbuilt, it is much more powerful at painting more objects.
We then instantiate an amount of objects (which will be the balls) within Javascript with the following parameters:
- radius
- angle
- speed
- colour
- position
These are then all pushed into an array for which we will loop through checking collision with horizontal walls, vertical walls and the other balls.
To have a visualisation which moves along with time, we can use the setInterval method (which is apart of the Window object aka the browser). We will be painting the canvas at each interval that we have set with this method.
Now we need to paint our canvas with the balls. To do this, we start by clearing the canvas each time, so the last 'timestamp' doesn't stay on our canvas (unless you want to?). The balls are then painted onto the canvas using the canvas arc() Method.
At each time step, we need to do a series of steps:
- Clear the canvas (using canvas clearRect() Method).
- The following steps are applied to each individual ball.
- Check if the ball is colliding with the walls or another ball.
- If they are, reflect them accordingly. (Since our balls are all the same 'weight', we use a mass elastic collision, which means both balls angle will be rotated by 90 degrees.
- Move our ball according to the angle it is facing, by it's speed.
- Paint the ball on canvas.
- Repeat for all balls.
Javascript Source(s): Bouncing_Balls.js